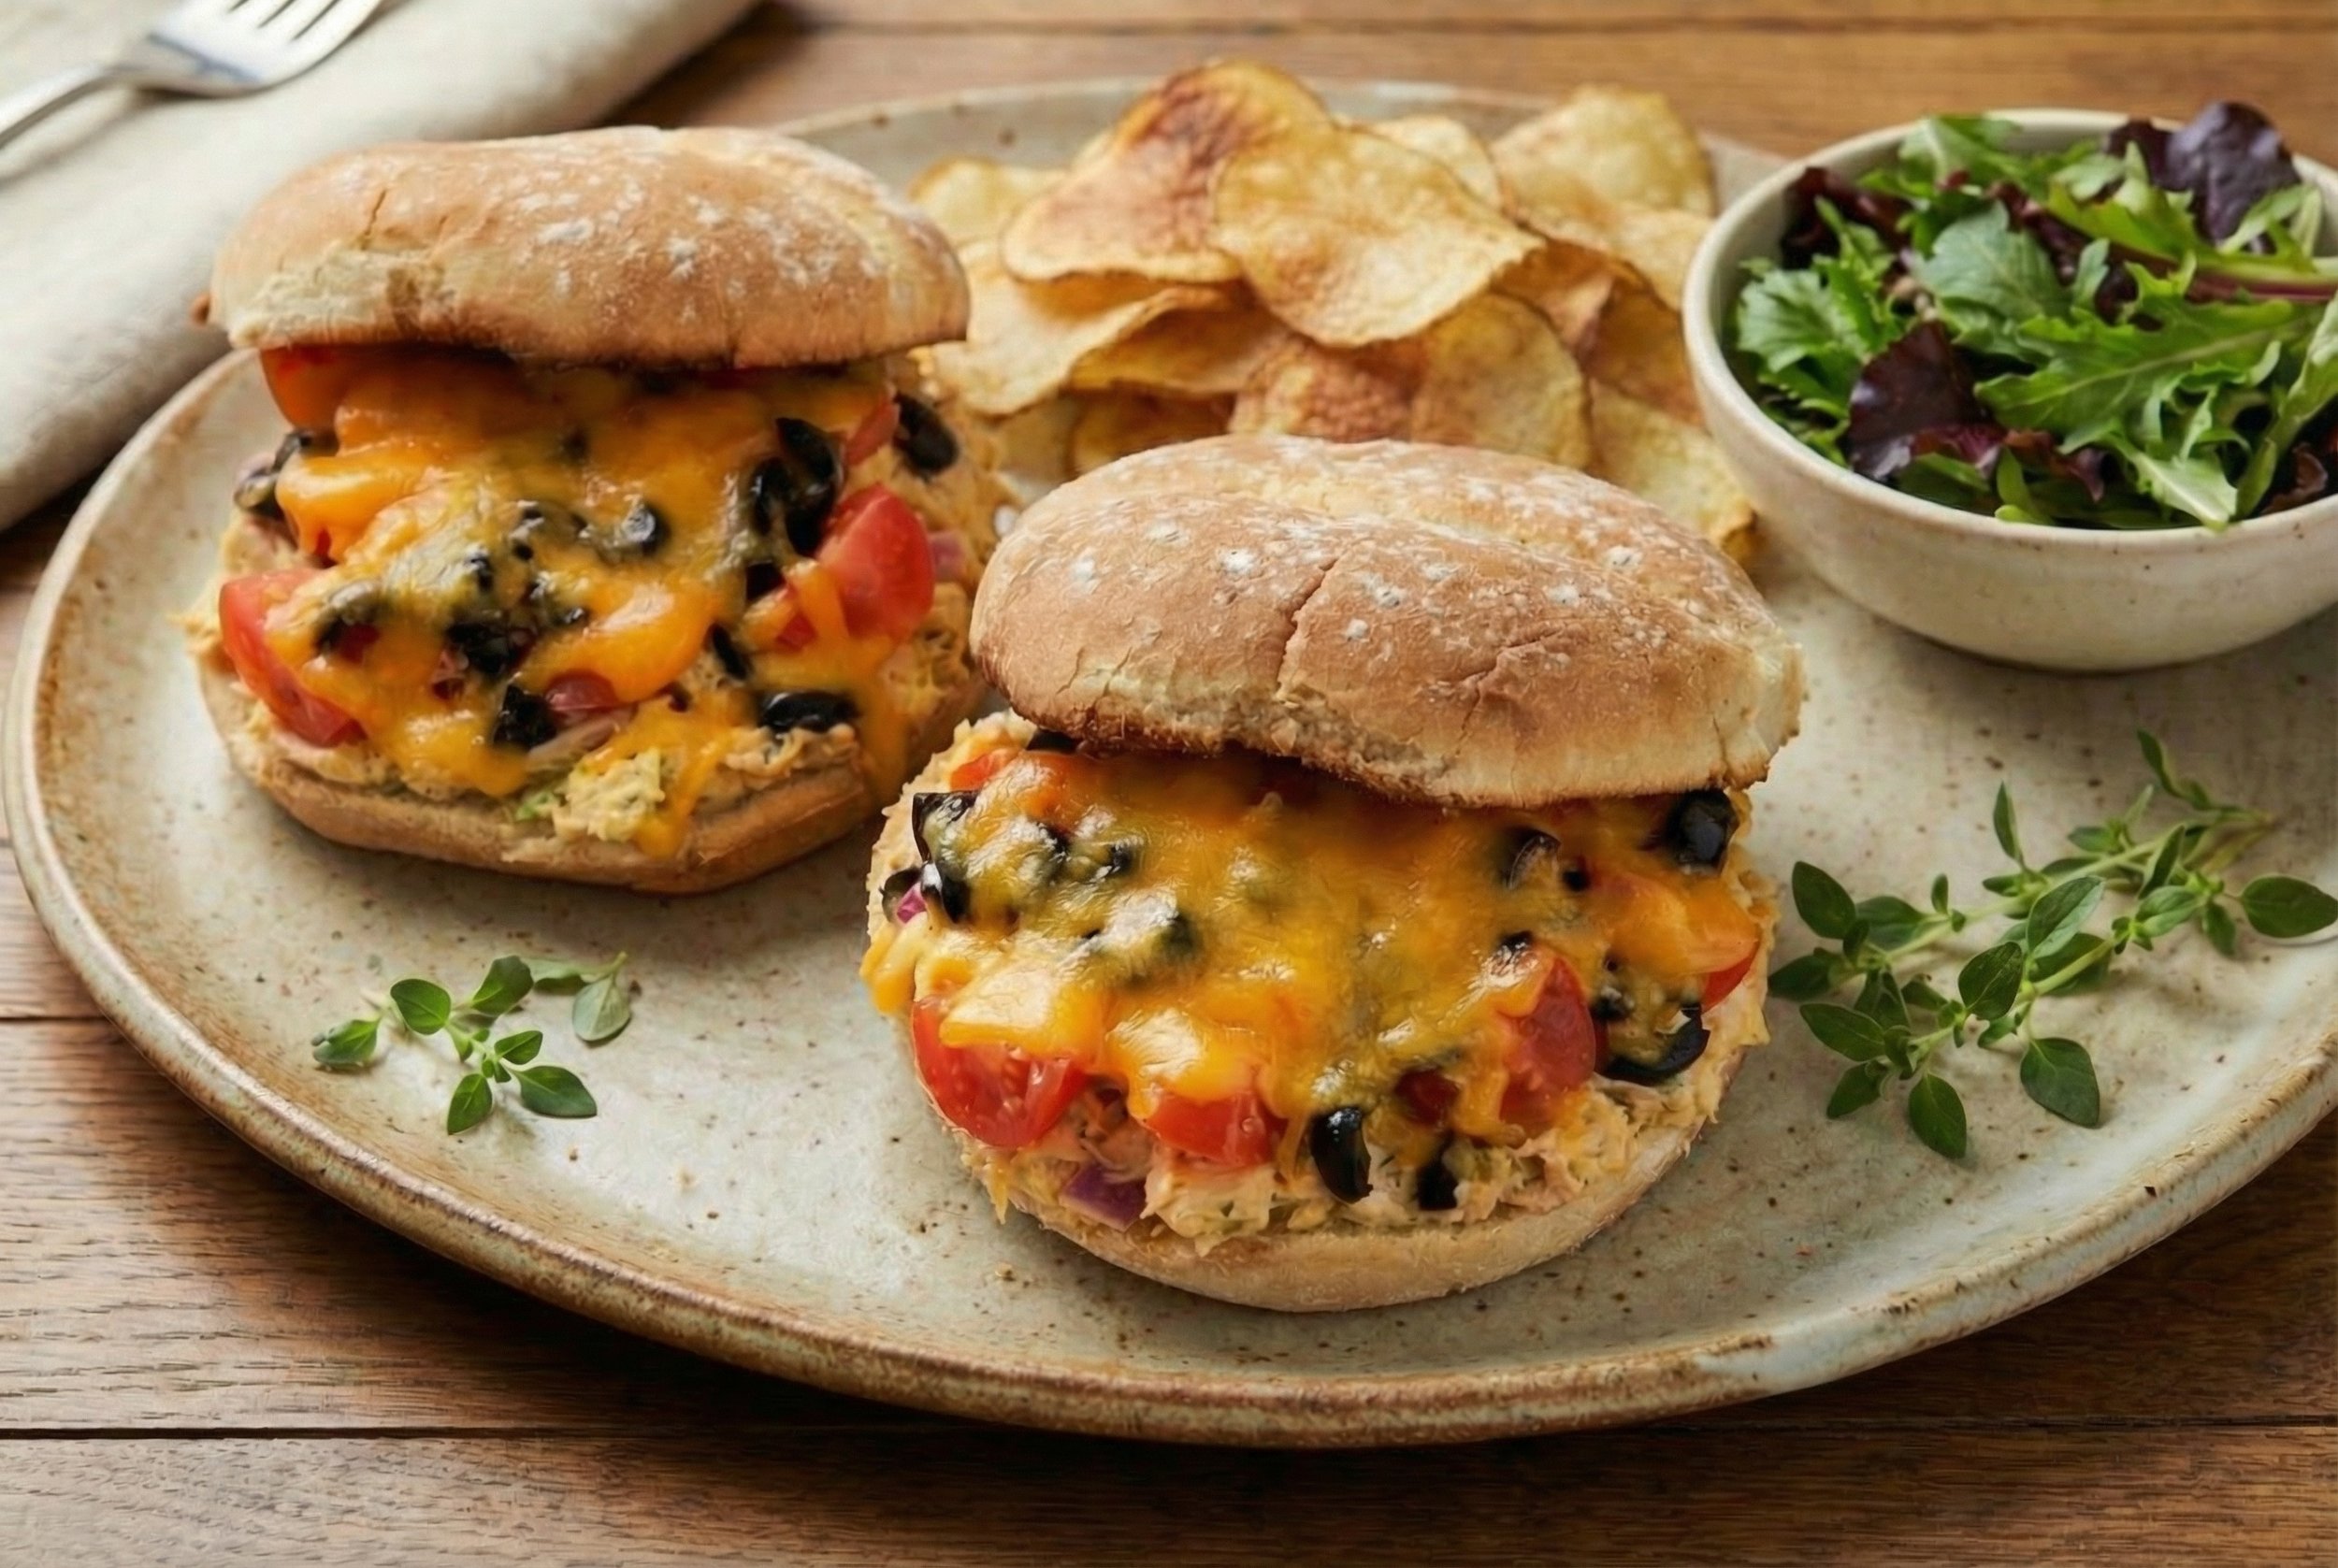
Chicken Salad Melts
/These Chicken Salad Melts are everything you want on a gray, drizzly evening — warm, melty, delicious and shockingly simple. Toasted buns, bubbling cheddar, and your favorite chicken salad come together in a dinner that feels comforting without any fuss.
INGREDIENTS
Round Buns (2): Soft buns that toast up beautifully — I used Alfaro’s Artesano Bakery Buns.
Chicken Salad (⅔ cup): The creamy, savory base of the melt — made with my Best Chicken Salad recipe.
Cherry Tomatoes (5, quartered): Juicy pops of brightness that cut through the richness.
Diced Black Olives (3 tablespoons): Briny, salty contrast that wakes everything up.
Shredded Cheddar Cheese (⅓ cup): Melty, sharp, and perfect for that golden‑bubbly finish.
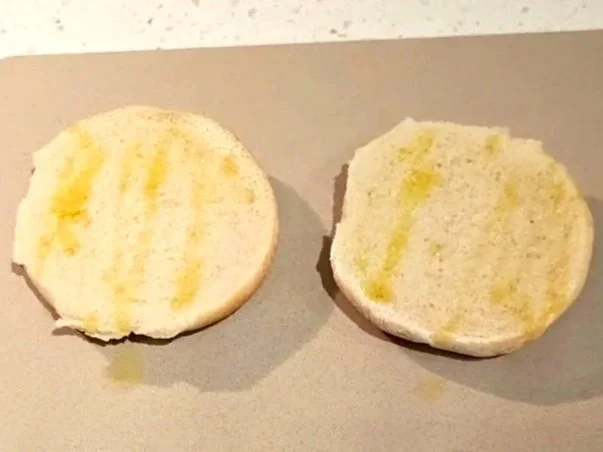
Olive Oil (drizzle): Helps the bun tops toast to a gorgeous, lightly crisped brown.

ASSEMBLE THE SANDWICHES AND BAKE
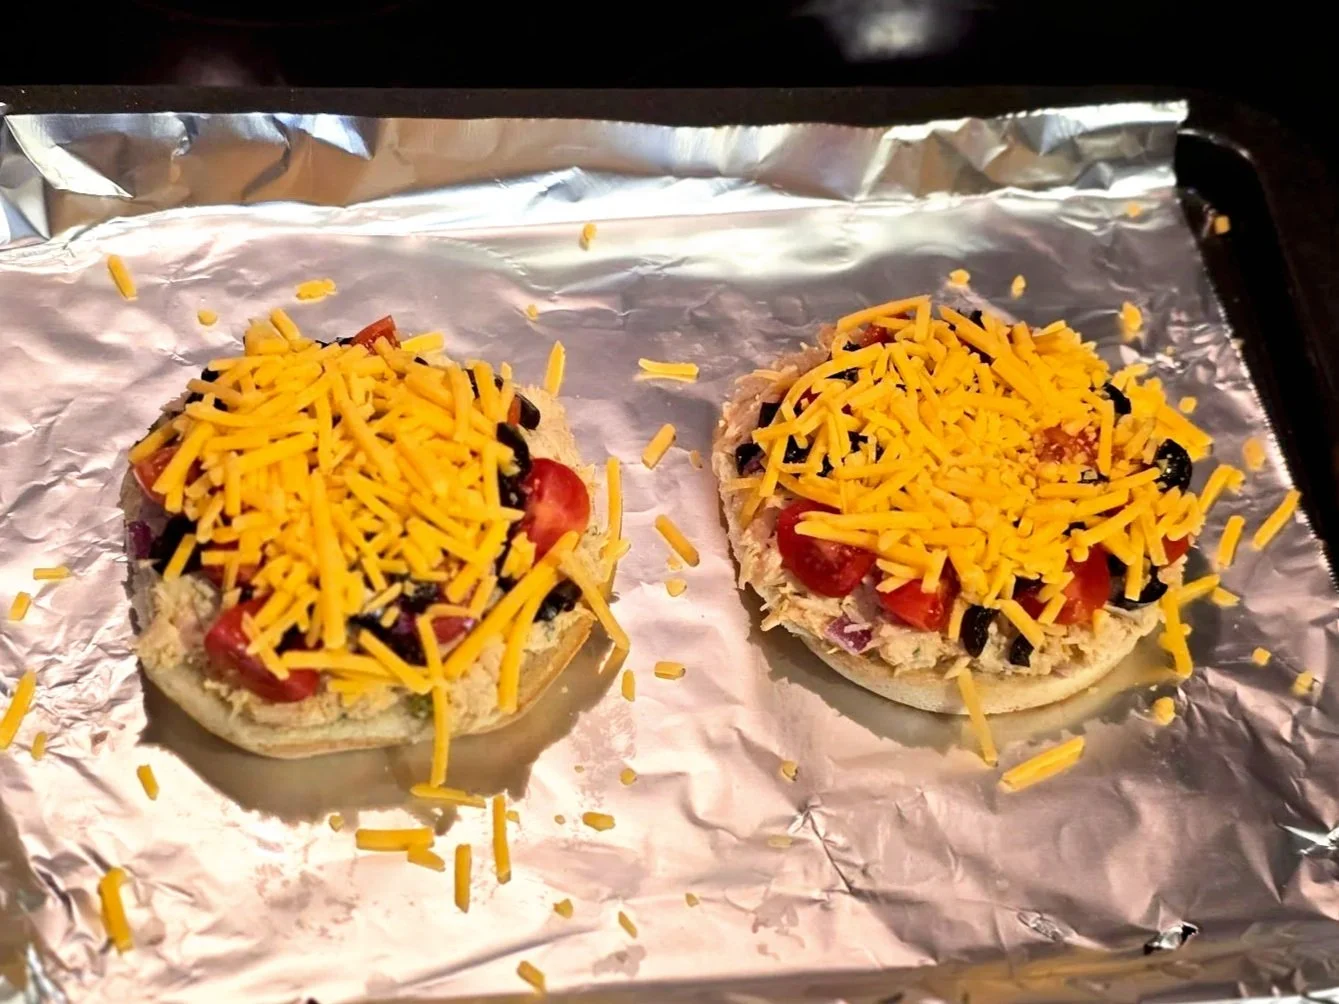
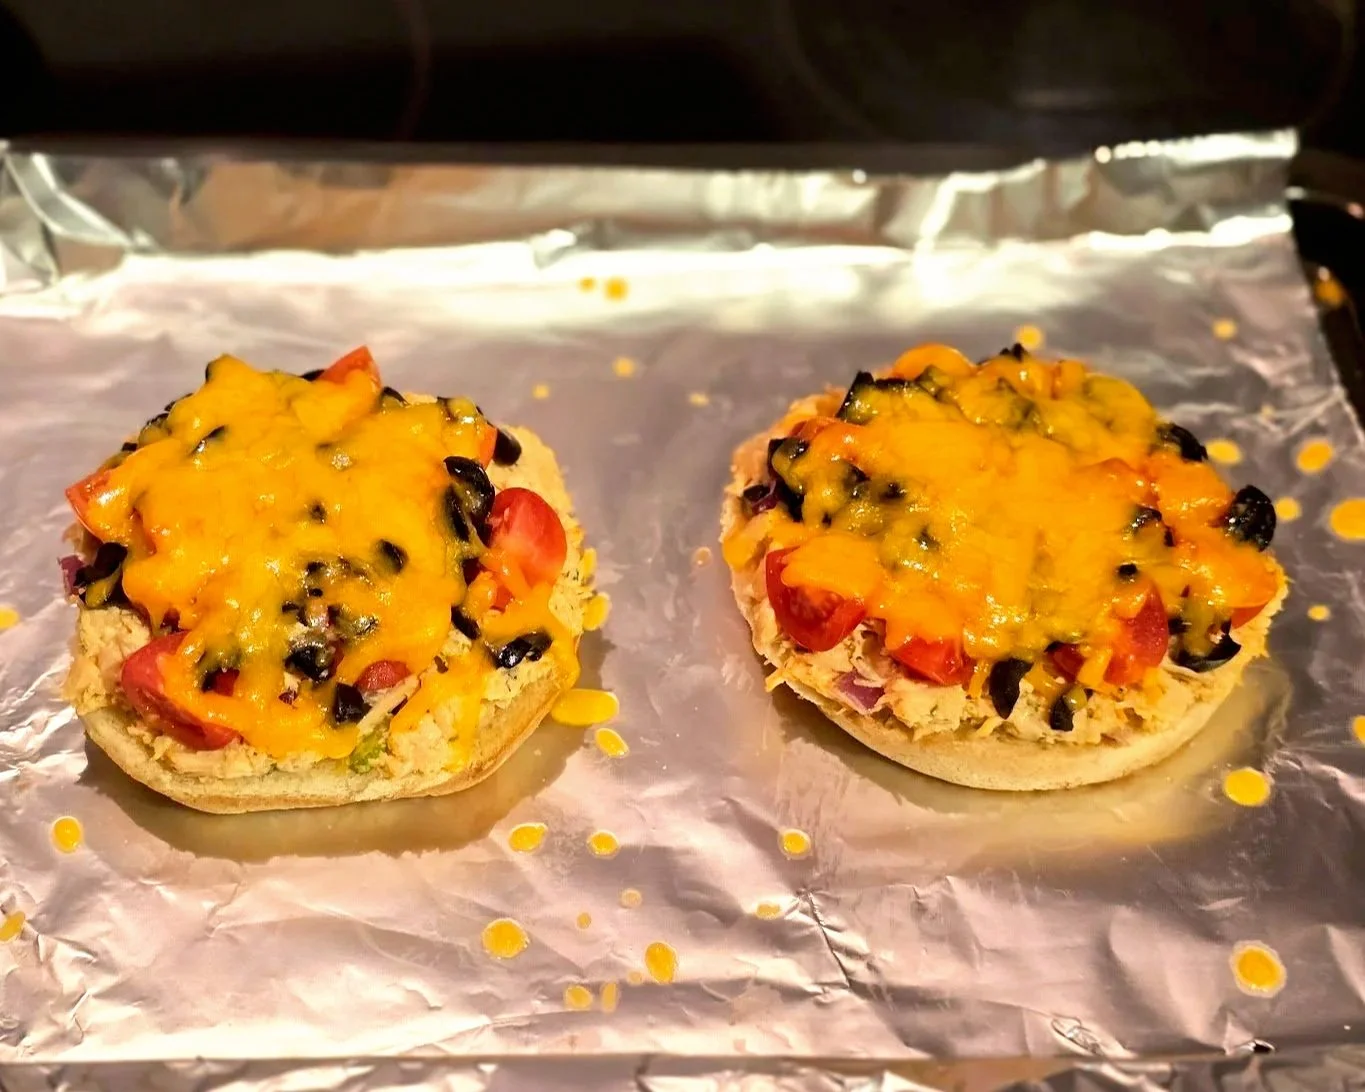
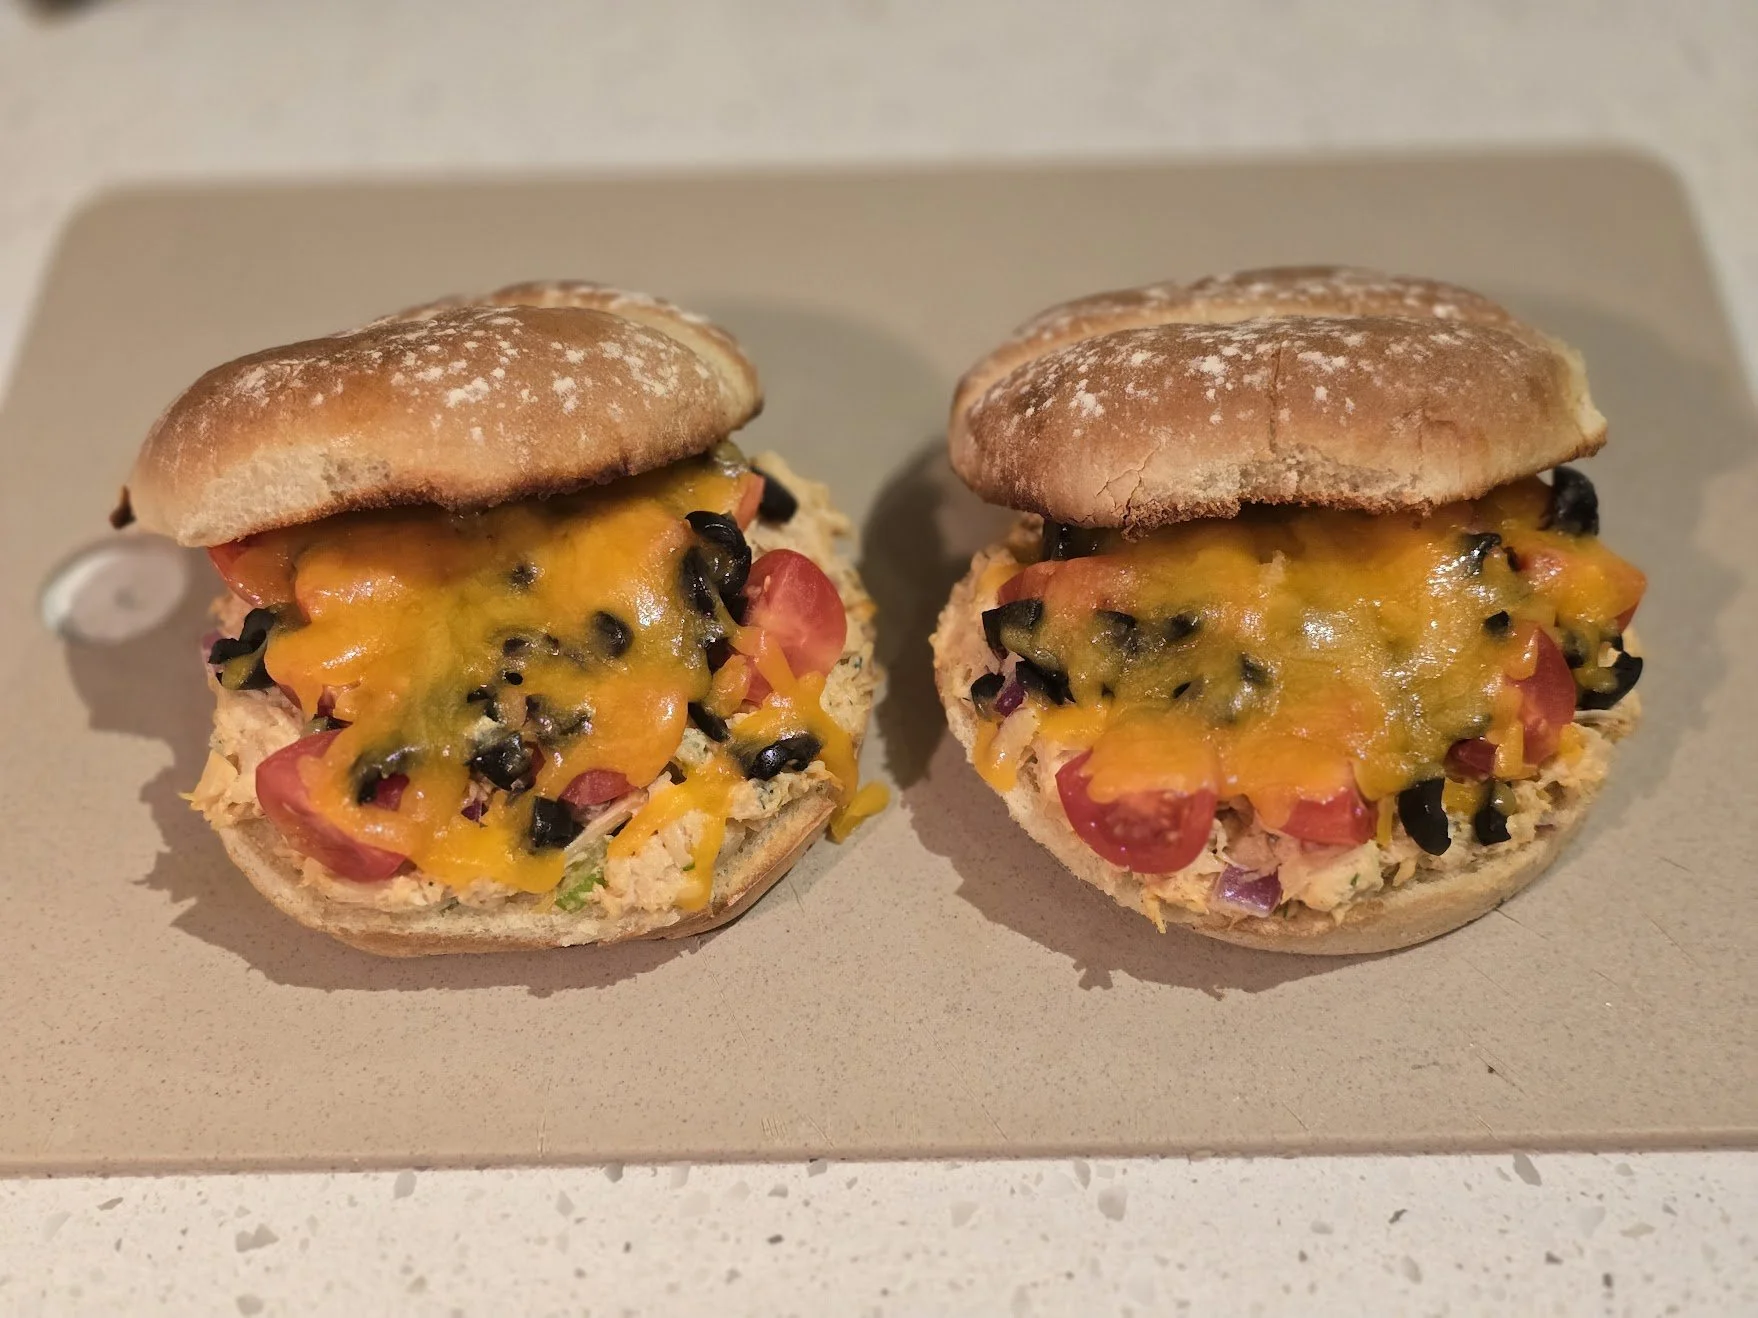
Preheat the oven to 400°F. Divide the chicken salad between the two buns and layer it onto the bottoms (I used Alfaro’s Artesano Bakery Buns). Divide cherry tomatoes, black olives and cheese in two and layer them over the chicken salad. Set the bottoms with ingredients on a baking sheet and bake for ten minutes.
NEXT, PREPARE THE BUN TOPS
Switch the oven to broil. Drizzle a little olive oil over each bun top and set them on a baking sheet. Broil 1-2 minutes, until you get a nice browned top.

FINISH
Add the tops to your sandwiches and serve hot!

Chicken Salad Melt
Ingredients
Instructions
- Preheat the oven to 400°F.
- Divide the chicken salad between the two buns and layer it onto the bottoms (I used Alfaro’s Artesano Bakery Buns).
- Divide both the cherry tomatoes and black olives in two and layer them over the chicken salad.
- Divide the cheese between the buns and sprinkle it over the top of the other ingredients.
- Set the bun bottoms with ingredients on a baking sheet and bake for 10 minutes.
- Once the bottoms are done, switch the oven to broil.
- Drizzle olive oil over the bun tops. Place them on the baking sheet and broil until browned — this will only take a minute or two.
- Remove from the oven, assemble your sandwiches, and serve.
Notes
Guidelines for a tightly wrapped sandwich:
Position the tortilla and filling (filling will be shaped something like a rectangle or log) such that the wide end of the filling is facing you.
- Fold the left and right sides inward so they snugly cover the ends of the filling; this creates the “closed ends” of the wrap.
- With your thumbs, lift the bottom edge of the tortilla up and over the filling, pulling it toward the far side. Your fingers should be holding the folded sides in place as you do this.
- Tuck the bottom edge firmly underneath the filling, creating tension and tightening the roll. Continue rolling forward, keeping the sides tucked in, until the wrap is fully rolled and the seam lands on the bottom.
A final step - deli wrap:
I’ve wrapped mine in deli wrap (get these on Amazon). This is a nice step when your sandwiches are robust with ingredients as it will hold the bottom together while being eaten. It’s also a nice way to present the sandwiches if you’re serving them at a party or picnic.